

 www.homedepot.com ```html
 Opening: Building Your Own Power Strip Workbench Tired of extension cords snaking across your workspace? Want a sturdy workbench with integrated power? This guide will walk you through building a workbench featuring a built-in power strip, keeping your tools powered and your workspace organized. This project combines basic woodworking skills with simple electrical wiring (please exercise extreme caution and, if you are not comfortable with electrical work, consult a qualified electrician). Let's get started!
Step 1: Planning and Design Before you pick up any tools, plan your workbench. Consider these factors: Size: How large do you need the workbench to be? Measure your workspace and determine the optimal dimensions. Height: Standard workbench height is around 36 inches, but adjust to your comfort level. Materials: Common materials include plywood, dimensional lumber (2x4s, 4x4s), and MDF. Choose materials based on your budget and desired durability. Power Strip Placement: Decide where you want to integrate the power strip. Common locations are along the back edge of the bench or recessed into the tabletop. Outlets and Wiring: Determine the number of outlets you need and the length of the power cord. Ensure the power strip is rated for the amperage you'll be using. Create a simple sketch with dimensions. This will serve as your blueprint.
Step 2: Gathering Materials and Tools Once you have your plan, gather the necessary materials and tools: Lumber for the frame and tabletop Plywood or MDF for the tabletop Screws (various sizes) Wood glue Power strip with the desired number of outlets and cord length Electrical box (if recessing the power strip) Wire connectors (wire nuts or Wago connectors) Strain relief for the power cord Safety Glasses Measuring Tape Pencil Circular Saw or Table Saw Drill/Driver Screwdriver (matching the screws you're using) Wire Strippers/Crimpers Utility Knife Sandpaper Clamps
Step 3: Building the Workbench Frame The frame provides the structural support for the workbench. Cut the lumber according to your plan to create the legs and frame supports. Assemble the frame using screws and wood glue. Ensure the frame is square and sturdy. Clamps will help hold the pieces together while the glue dries. Add additional support beams as needed, especially if you plan to put heavy items on the bench.
Step 4: Creating the Tabletop The tabletop provides the work surface. Cut the plywood or MDF to the desired size. Attach the tabletop to the frame using screws and wood glue. Be sure to evenly distribute the screws for a strong and stable surface. Optionally, add a second layer of plywood or MDF for a thicker, more durable tabletop. Sand the edges and surface of the tabletop smooth.
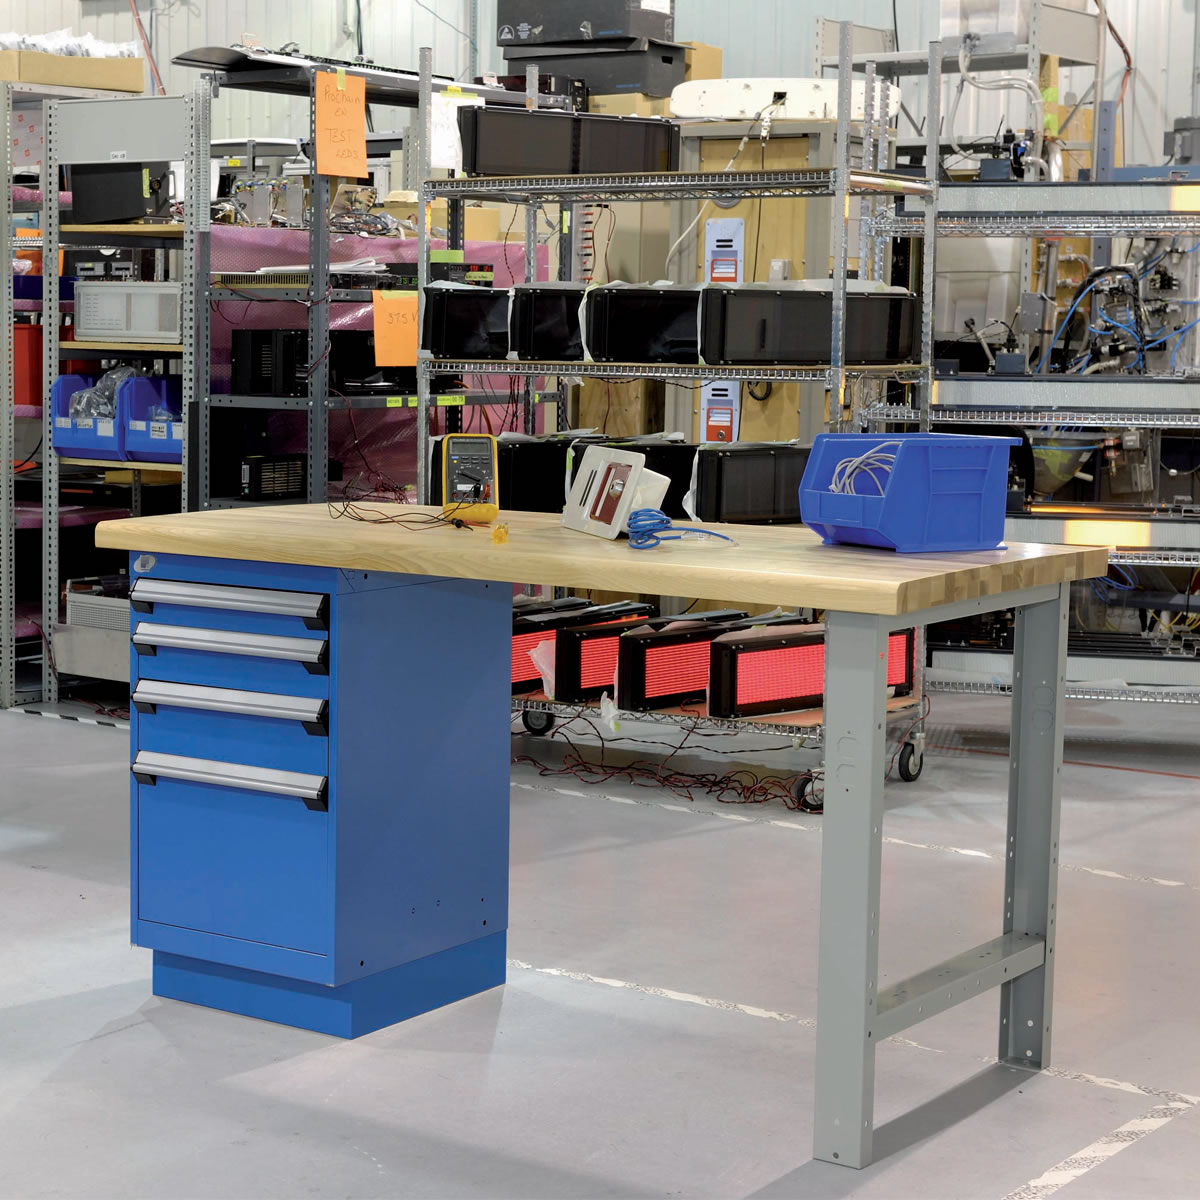
Step 5: Integrating the Power Strip This is where you integrate the power strip into the workbench. Surface Mounting: If surface mounting, simply attach the power strip to the back of the workbench or to a leg, using screws or adhesive. Recessed Mounting: If recessing, cut a hole in the tabletop slightly larger than the electrical box. Install the electrical box into the hole. Run the power strip's cord through a strain relief before connecting it to the electrical box. Connect the power strip's wires to the wires inside the electrical box using wire connectors (follow the power strip's instructions and local electrical codes). IMPORTANT: Disconnect the power strip from the mains during wiring! If you are unsure about electrical connections, consult a qualified electrician. Secure the power strip within the electrical box. Test the power strip to ensure it's working correctly.
Step 6: Finishing Touches Add any finishing touches to improve the workbench's functionality and appearance. Apply a sealant or finish to the tabletop to protect it from spills and scratches. Add a shelf or drawer to the frame for storage. Consider adding a vise or other workholding devices. Clean up any debris and organize your tools.
Conclusion: Enjoy Your New Workbench! Congratulations! You've built a functional and organized workbench with a built-in power strip. This will greatly improve your workflow and keep your workspace tidy. Remember to always exercise caution when using power tools and electrical equipment. Enjoy your new workspace!
``` Husky 4 Ft. Solid Wood Top Workbench With Storage-g4801s-us
www.homedepot.com Craftsman Stationary Work Bench: 29-1/2" Wide, 18" Deep, 40-1/4" High, Black Red 23167927 Msc
 atelier-yuwa.ciao.jp
 Workbenches & Industrial Workbench Systems
 vitalvalt.com


0 komentar:
Posting Komentar