

 mart89.com
 Introduction: The DIY Hanging Key Rack A Stylish and Functional Project Tired of losing your keys? A hanging key rack is the perfect solution! Not only does it provide a designated spot for your keys, but it can also add a touch of personality to your entryway or hallway. This DIY project is easy to customize and can be completed in just a few hours with basic tools and materials. Let's get started!
Step 1: Gathering Your Materials Before you begin, gather all the necessary supplies. This will make the building process much smoother. Here's what you'll need: A piece of wood (size depending on your preference, but around 6-12 inches long and 4-6 inches wide is a good starting point). Pallet wood, reclaimed wood, or a new piece of lumber all work well. Key hooks (number depending on how many keys you need to hang). You can find these at most hardware stores. Sandpaper (various grits, from coarse to fine). Wood stain or paint (optional, for finishing). Wood sealant or varnish (optional, for extra protection). Drill with drill bits (sized for your screws and pilot holes). Screws (appropriate size for your key hooks). Measuring tape or ruler. Pencil. Saw (if you need to cut your wood to size). Hanging hardware (D-rings, sawtooth hangers, or picture wire).
Step 2: Preparing the Wood First, ensure your piece of wood is the correct size. If not, use a saw to cut it to your desired dimensions. Next, sand the wood thoroughly, starting with a coarse grit sandpaper to remove any rough edges or imperfections. Gradually work your way to finer grits for a smooth finish. Wipe away any sanding dust with a damp cloth.
Step 3: Staining or Painting (Optional) If you want to stain or paint your key rack, now is the time. Apply the stain or paint evenly, following the manufacturer's instructions. Allow it to dry completely. You may need to apply multiple coats for the desired color and coverage. If using stain, consider applying a wood sealant or varnish after the stain has fully dried to protect the wood and enhance its durability. Allow the sealant/varnish to dry as instructed.
Step 4: Attaching the Key Hooks Measure and mark the desired locations for your key hooks. Ensure they are evenly spaced and aligned. Pre-drill pilot holes at each marked location. This will prevent the wood from splitting when you screw in the hooks. Attach the key hooks to the wood using the screws provided. Make sure they are securely fastened.
Step 5: Adding Hanging Hardware Decide how you want to hang your key rack. D-rings and picture wire are common options. Attach the hanging hardware to the back of the key rack, following the manufacturer's instructions. Ensure it is securely attached so the rack can support the weight of the keys.
Step 6: Final Touches and Hanging Give your key rack a final inspection. Touch up any areas that need it and ensure all screws are tight. Find a suitable location to hang your key rack near your entryway or wherever you tend to leave your keys. Use appropriate wall anchors if needed to ensure a secure hold.
Conclusion: Enjoy Your New Key Rack! Congratulations! You've successfully created your own hanging key rack. Now you have a stylish and functional place to keep your keys organized and readily accessible. This simple DIY project not only solves the problem of misplaced keys, but also adds a personal touch to your home decor. Feel free to customize your key rack further with decorative elements like stencils, paint designs, or other embellishments to truly make it your own.
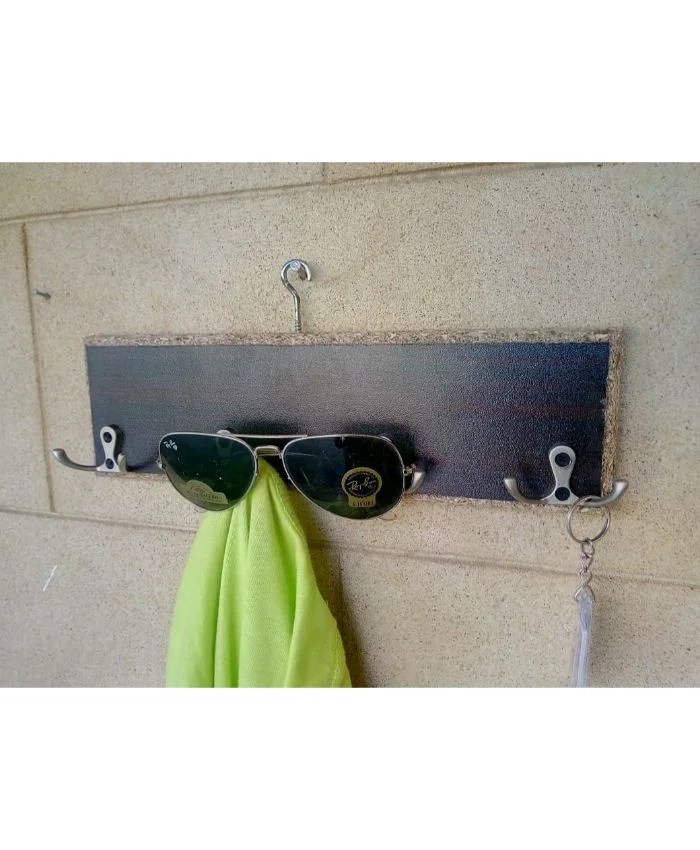
Key & Cloth Hanging Rack
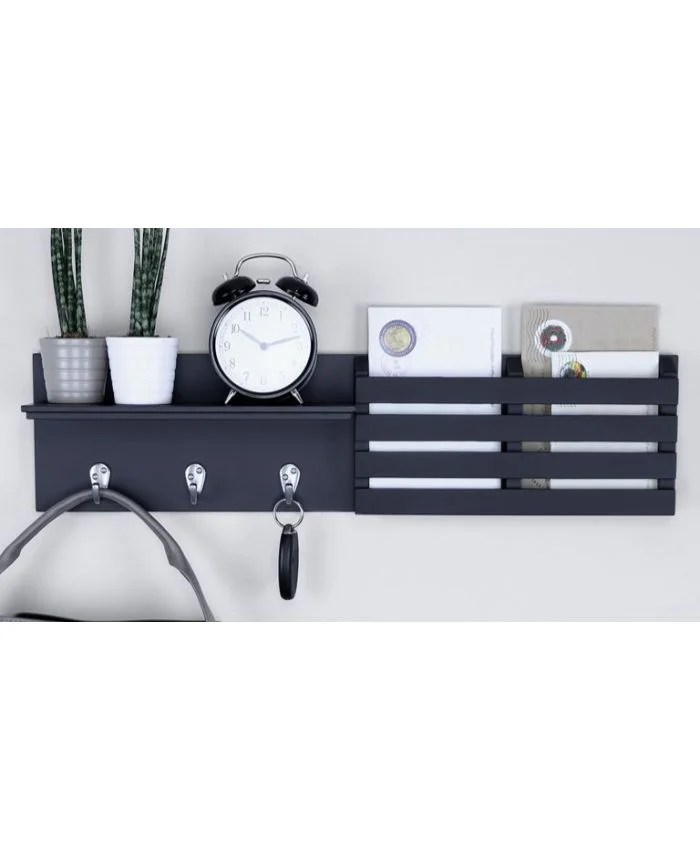
mart89.com Wall Mounted Key Rack Hanging Stand
 mart89.com
 Key Chain Hanging Rack In Black
 mart89.com


0 komentar:
Posting Komentar