

 mart89.com
 Introduction: A Stylish Solution for Key Clutter
Tired of losing your keys? This DIY hanging key rack offers a practical and stylish solution. It's a simple project perfect for beginners and can be customized to match your home decor. Let's get started!
Tired of losing your keys? This DIY hanging key rack offers a practical and stylish solution. It's a simple project perfect for beginners and can be customized to match your home decor. Let's get started!
Materials You'll Need:
- A piece of wood (approximately 6-12 inches long and 3-6 inches wide, depending on your preference). Reclaimed wood adds character!
- Key hooks (quantity depends on the number of keys you want to hang)
- Screws (appropriate size for the key hooks)
- Wood stain or paint (optional)
- Sandpaper (various grits)
- Drill with appropriate drill bits
- Measuring tape or ruler
- Pencil
- Picture hanging hardware (D-rings or sawtooth hanger)
Step 1: Preparing the Wood
Begin by sanding the wood smooth. Start with a coarser grit sandpaper (e.g., 80 or 120) to remove any imperfections. Then, move to a finer grit sandpaper (e.g., 220) for a smooth finish. Wipe the wood clean with a damp cloth to remove any sanding dust. Let it dry completely.
Step 2: Staining or Painting (Optional)
If you want to stain or paint your key rack, now is the time. Apply the stain or paint according to the manufacturer's instructions. Allow sufficient drying time between coats, and sand lightly between coats with very fine sandpaper (e.g., 400 grit) for an even smoother finish. If using paint, consider applying a clear coat sealant for added protection.
Step 3: Marking Hook Placement
Use a measuring tape and pencil to mark the desired locations for your key hooks. Space them evenly along the bottom edge of the wood. Consider the size of your keys and how much space you'll need between each hook. A good starting point is 1-2 inches between each hook.
Step 4: Attaching the Key Hooks
Using a drill with the appropriate size drill bit (slightly smaller than the screws provided with your key hooks), pre-drill pilot holes at each marked location. This prevents the wood from splitting. Carefully screw the key hooks into the pilot holes. Ensure they are securely fastened.
Step 5: Installing Hanging Hardware
Decide on the best hanging method for your key rack. D-rings offer a secure and level hanging option. A sawtooth hanger is simpler to install but may not be as level. For D-rings: Measure and mark locations on the back of the key rack, near the top corners. Screw the D-rings into place. For a sawtooth hanger: Center the hanger on the back of the key rack near the top edge and hammer the small nails into place to secure it.
Step 6: Final Touches and Hanging
Inspect your key rack for any sharp edges or loose hooks. Touch up any imperfections with paint or stain. Hang your new key rack in a convenient location near your entrance. Now you'll always know where your keys are!
Conclusion: A Functional and Personalized Addition
Congratulations! You've created a stylish and functional hanging key rack. This DIY project is not only practical but also allows you to personalize your space and add a touch of handmade charm to your home. Enjoy your organized keys!
Congratulations! You've created a stylish and functional hanging key rack. This DIY project is not only practical but also allows you to personalize your space and add a touch of handmade charm to your home. Enjoy your organized keys!
Wall Mounted Key Rack Hanging Stand
 mart89.com
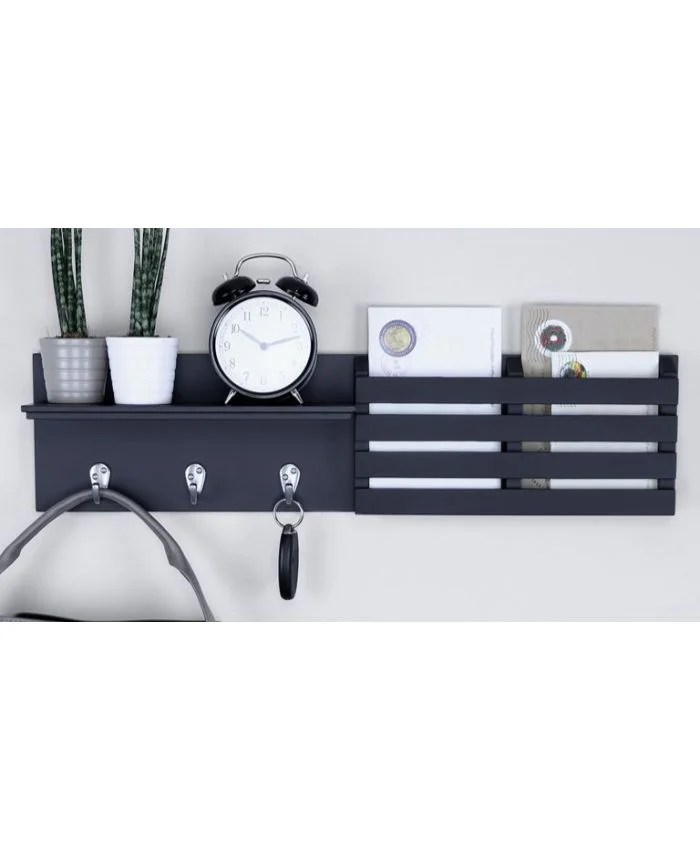
 Key Chain Hanging Rack In Black
 mart89.com
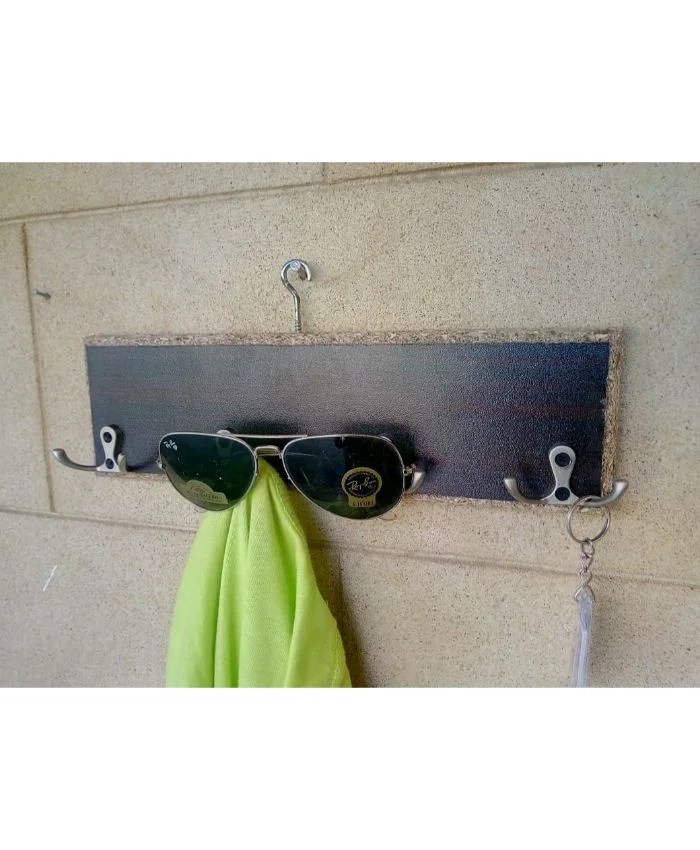
 Key & Cloth Hanging Rack
mart89.com


0 komentar:
Posting Komentar